Introduction
Apex Designer is the fast and easy to use platform for building modern web apps that run on an open source stack. Applications built with Apex Designer can be deployed on any cloud infrastructure, and now DigitalOcean may be the easiest and most cost effective way to take an app to production.
DigitalOcean is a cloud computing platform that offers a variety of services for developers, startups, and small and medium-sized businesses. DigitalOcean is known for its pricing and scalability, with their App Platform plans starting at $5 a month.
The TL;DR is you can deploy your Apex Designer app to DigitalOcean App Platform in about 15 minutes - read on for the step-by-step instructions.
DigitalOcean’s App Platform
App Platform is a Platform-as-a-Service (PaaS) offering that allows developers to publish code directly to DigitalOcean servers without worrying about the underlying infrastructure.
App Platform retrieves your app’s code from your linked repository (GitHub or GitLab) or container registry like AWS ECR or Docker Hub, detects the type of language the app is written in, and deploys the app into an appropriate container environment.
App Platform hosts the app at a public URL provided by DigitalOcean and can automatically redeploy the app when it detects changes in the repo.
The rest of this article will go step-by-step through the process of creating an application in Apex Designer and deploying it on DigitalOcean App Platform.
Develop the Application
Creating an application in Apex Designer
To create an application inside Apex Designer, start by signing up for Apex Designer (https://apexdesigner.io/).
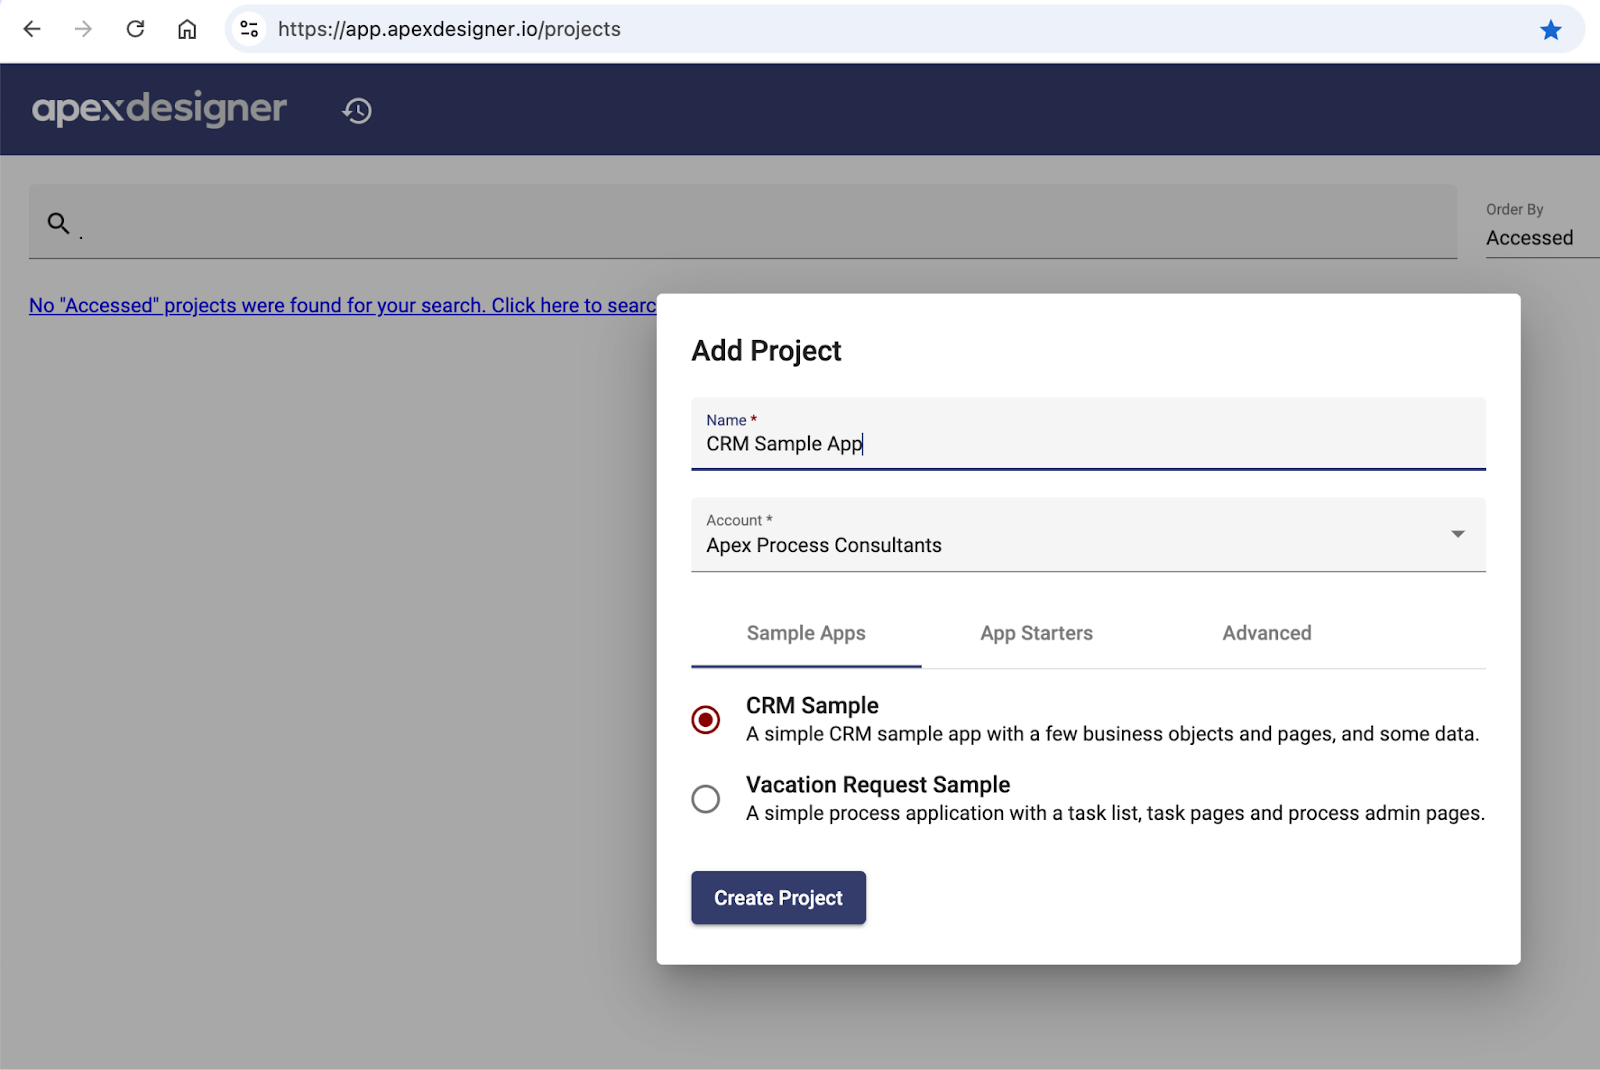
Click on the Add Projects + button at the bottom right of the projects page.
Give your new project a name, and for simplicity, select the CRM Sample app (see image below) and click the Create Project button.
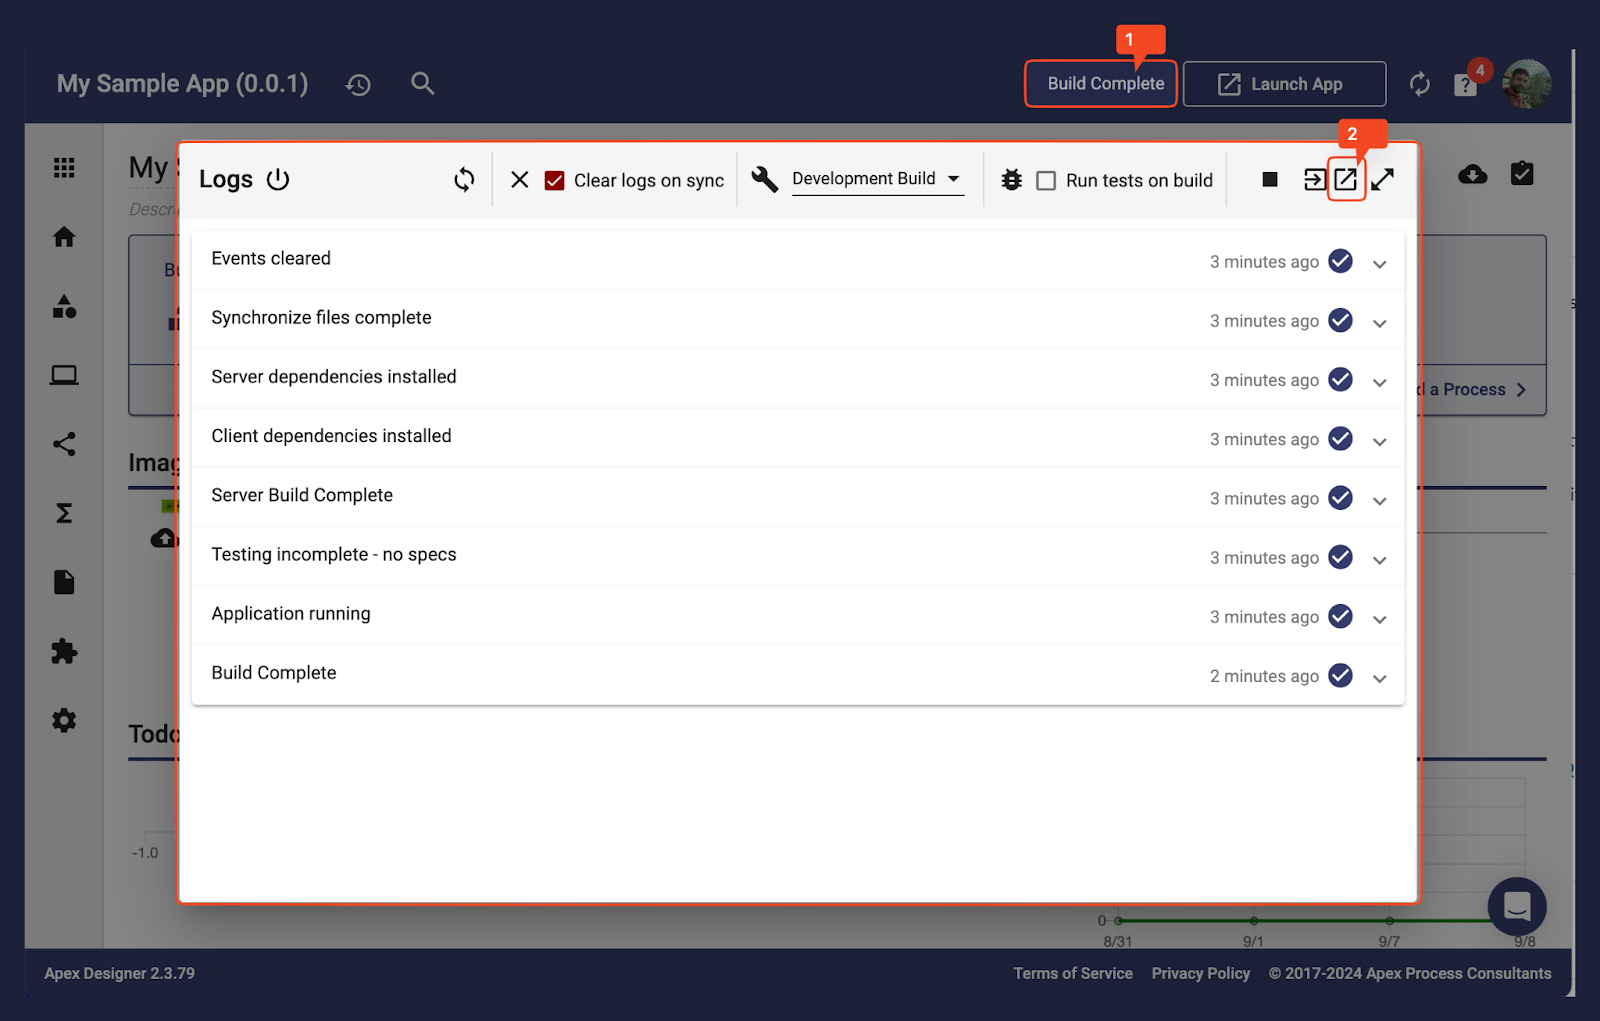
After creating the application in Apex Designer, you will notice that the application is building and starting in the Apex App Manager environment. You can see App Manager in action by clicking on the activities on top right (1). You can launch the application using the launch button (2).
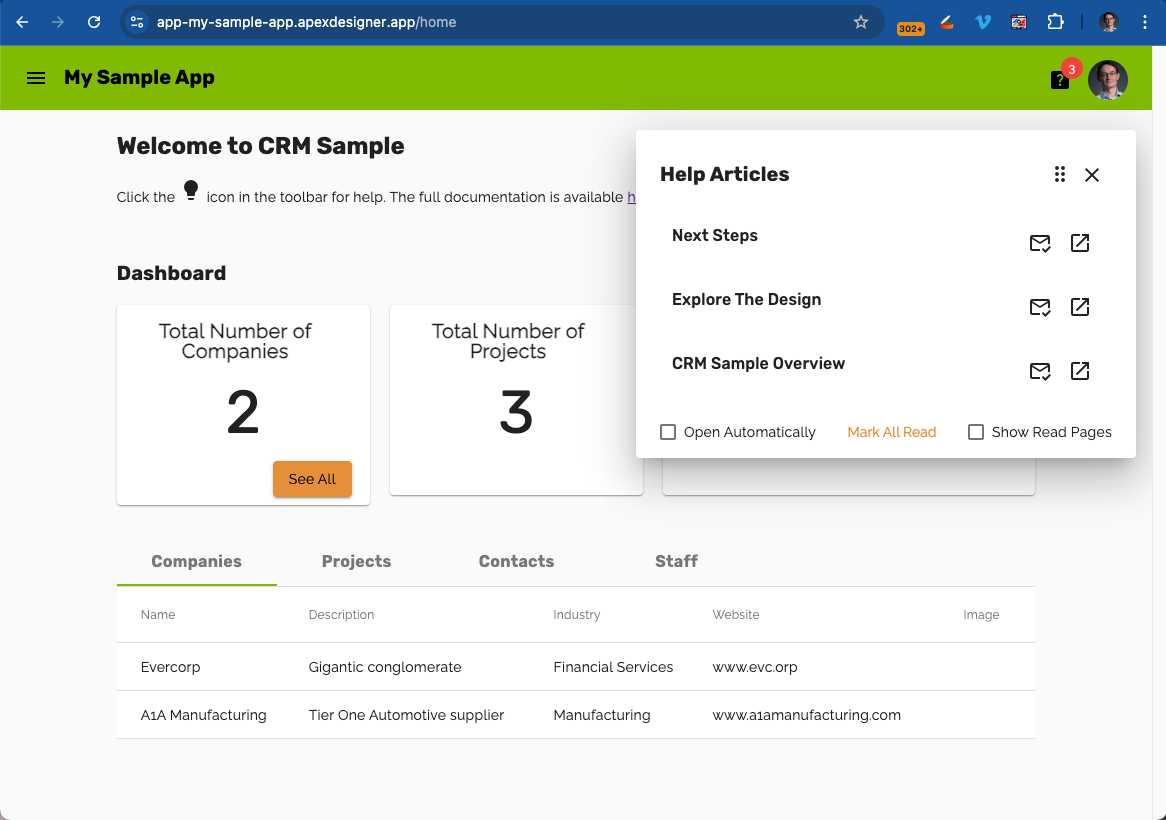
You can explore the sample app, and make changes to it. Access the help pages from the the ? icon at the top right to learn how to make changes to the app.
Once your app is built and ready to deploy, you need to commit the code to a git source code repository like GitHub or Bitbucket.
Creating a repository
Create a repository in your favorite source control repository, we are using GitHub. You'll need a GitHub account, so sign up if you don't already have an account. First, we'll create a new repository.

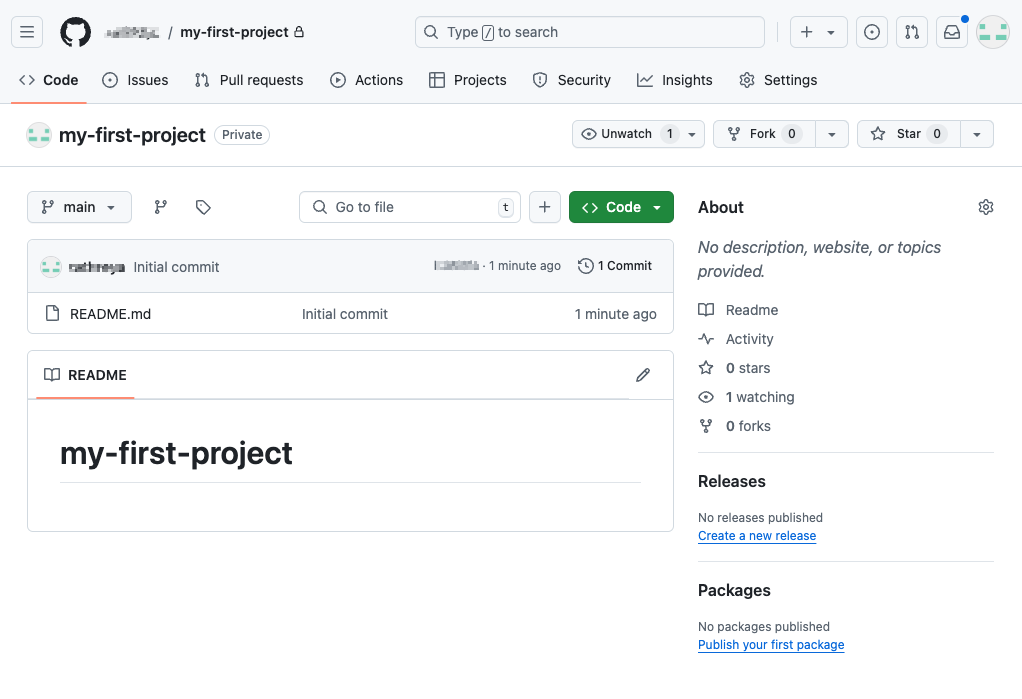
After you click Create Repository, a new empty repository is created and it looks like this.
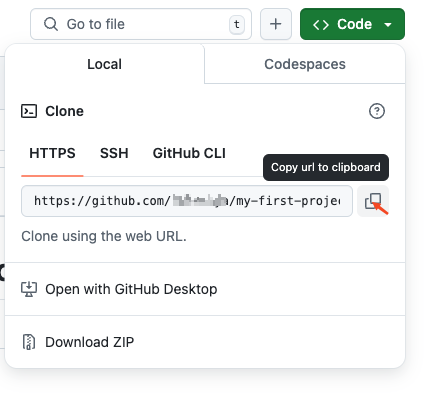
To copy the link of the repository, click on the green Code dropdown button and copy the repository URL. We need this for our next step.
Check in the source code
Now let's see how to check in the source code generated by Apex Designer.
In your Apex Designer Project, go to Settings (bottom of left navigation bar), click on Source Control, and paste the Repository URL into its field. Make sure that the branch name is Main (or Master) based on your repository and update it accordingly.
Fill in your username and password. You may need to generate an access token in GitHub if your password does not work. Fill the password field with that generated token.
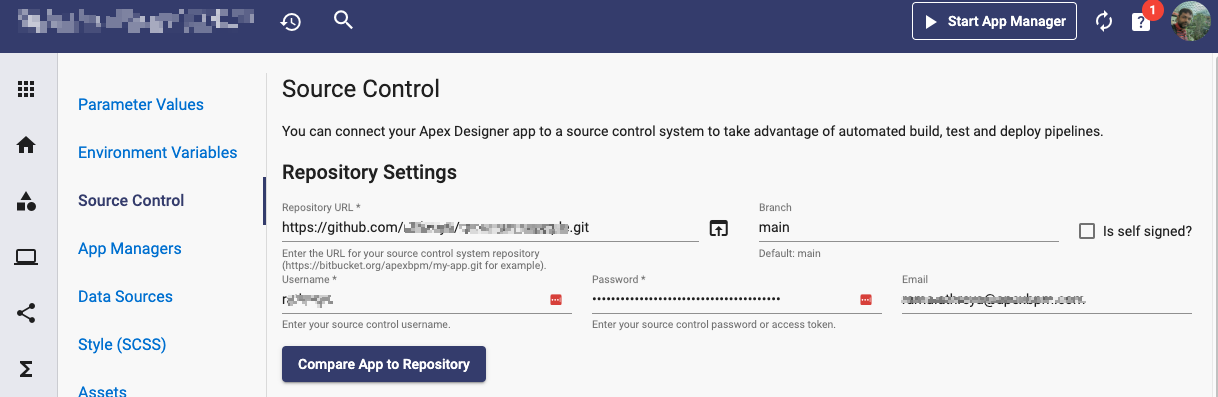
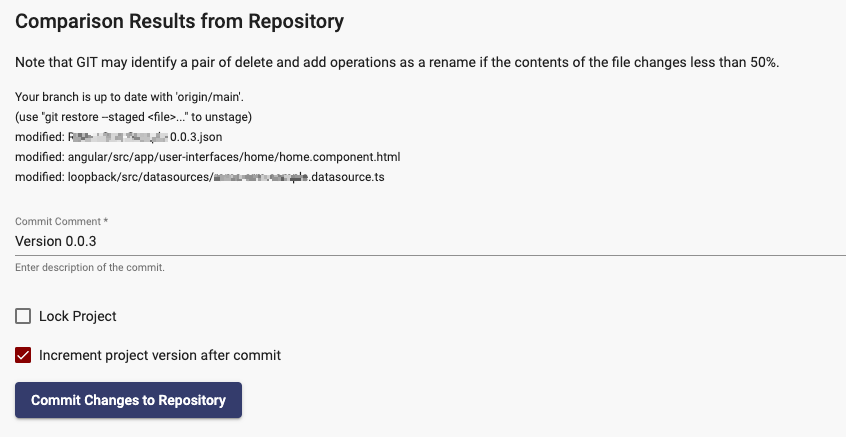
Click on Compare App to Repository. You will see the Comparison Results from Repository as below. Review them and click on Commit Changes to Repository
Once you have pushed your application code to the source code repository (GitHub), the next step is to deploy the app into Digital Ocean.
Deploy the Application to DigitalOcean
First, if you don't already have one, sign up for an account on DigitalOcean.
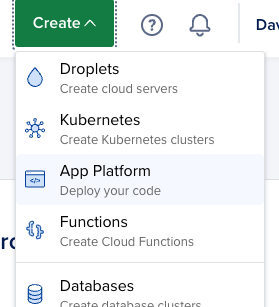
Go to your DigitalOcean console https://cloud.digitalocean.com/apps and click on the Create button and select App Platform.
This will take you to the below wizard.
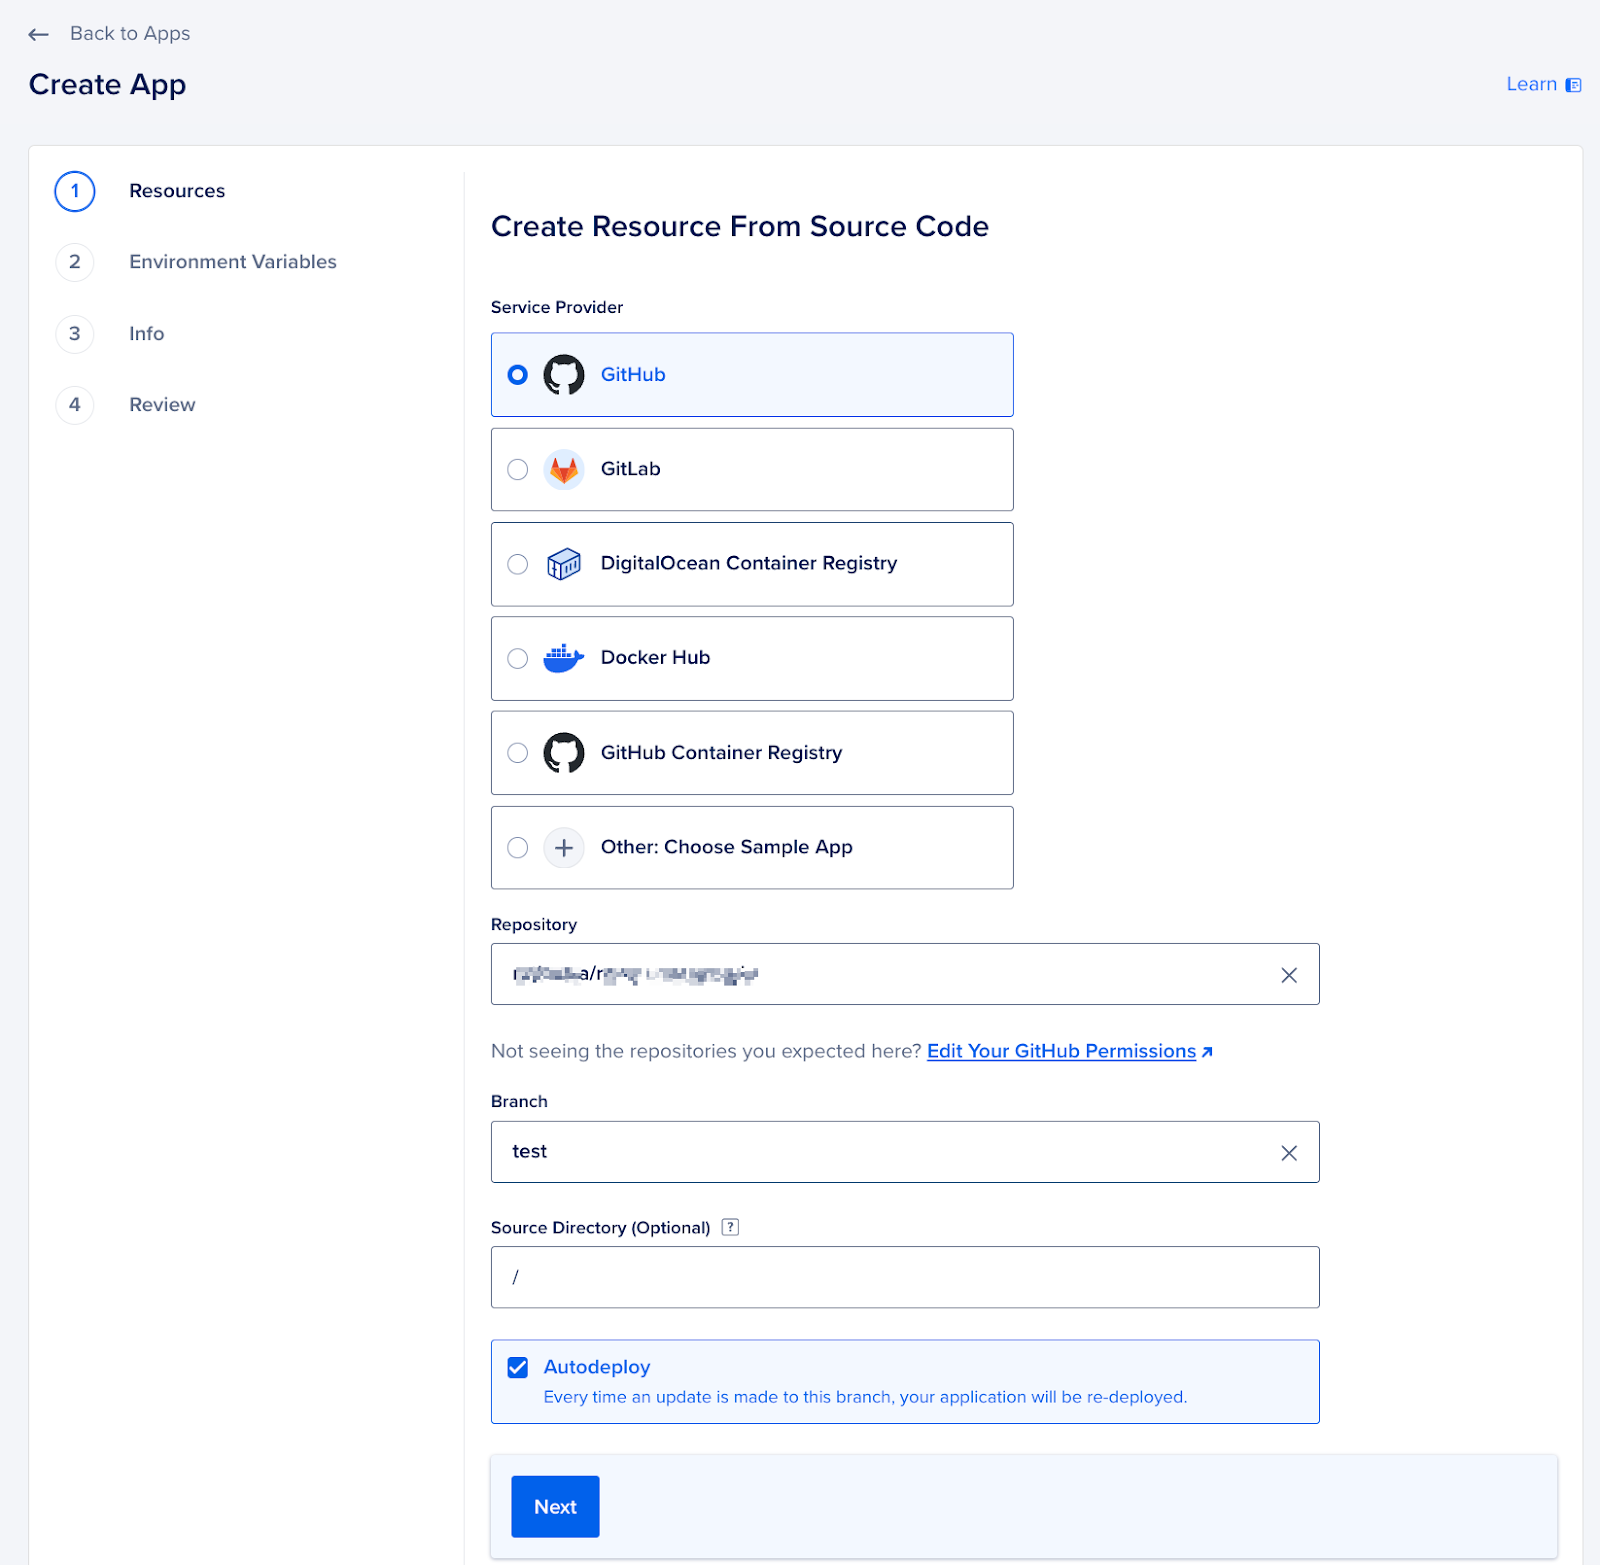
Follow the steps as listed in DigitalOcean's documentation.
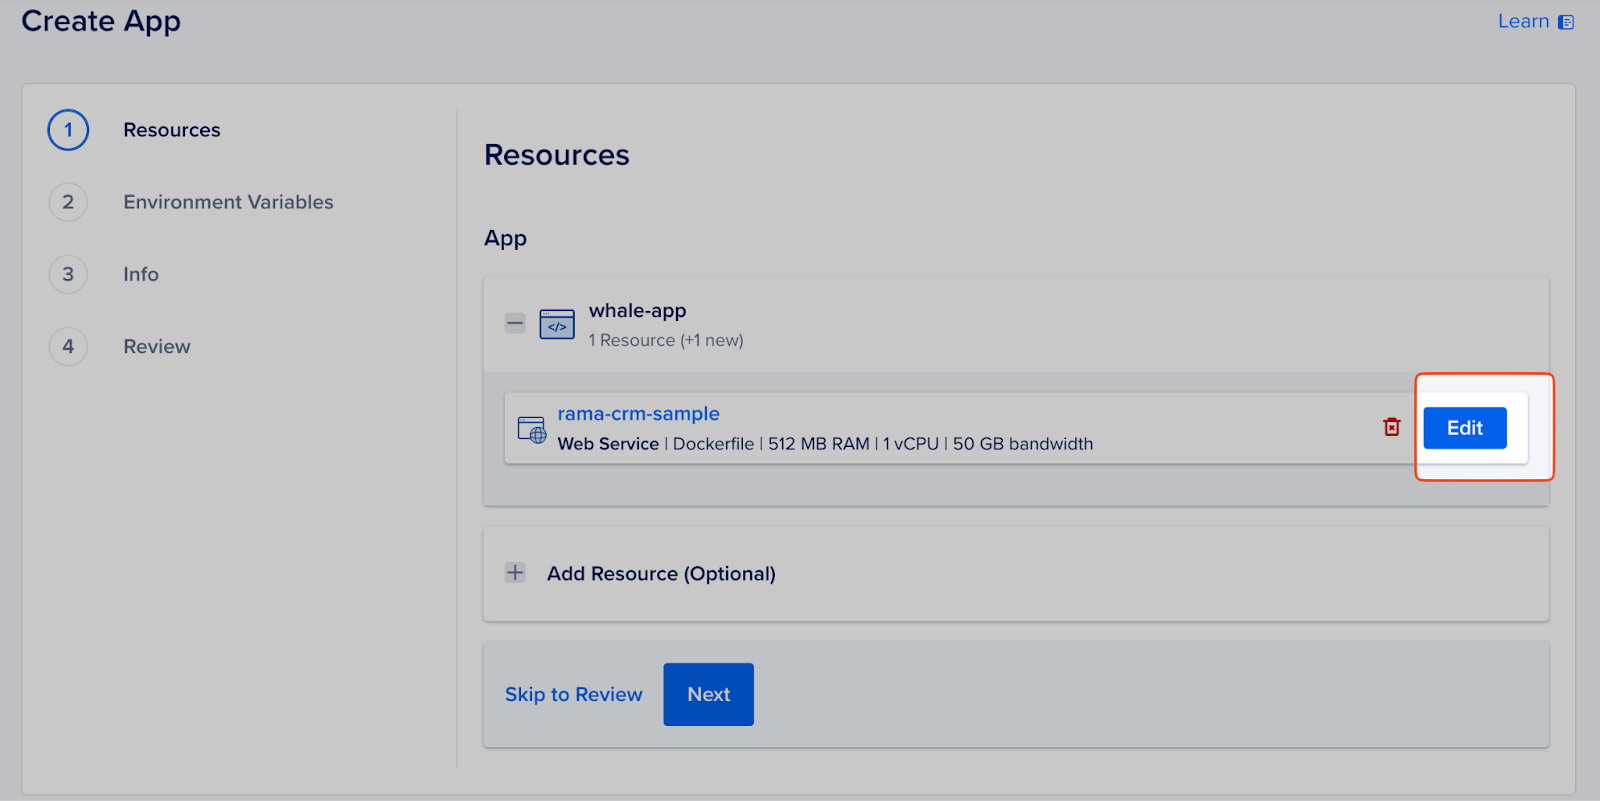
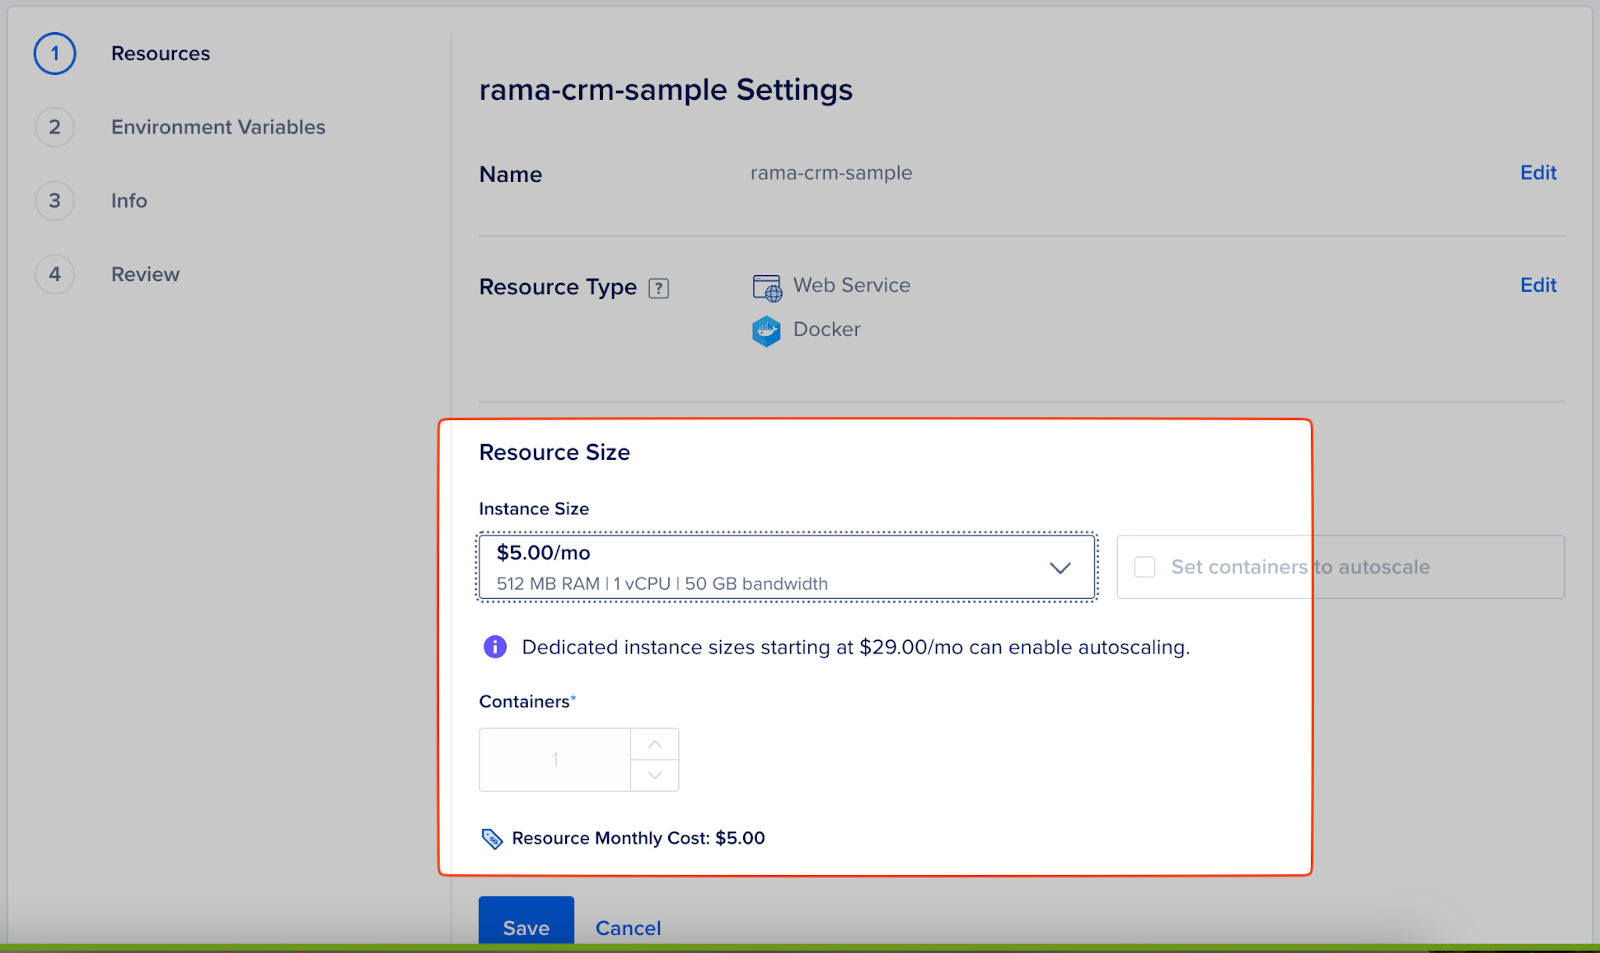
You will need to add a resource to include a database cluster in your deployment if you are using the CRM sample app. Choose PostgreSQL and the smallest dev configuration.
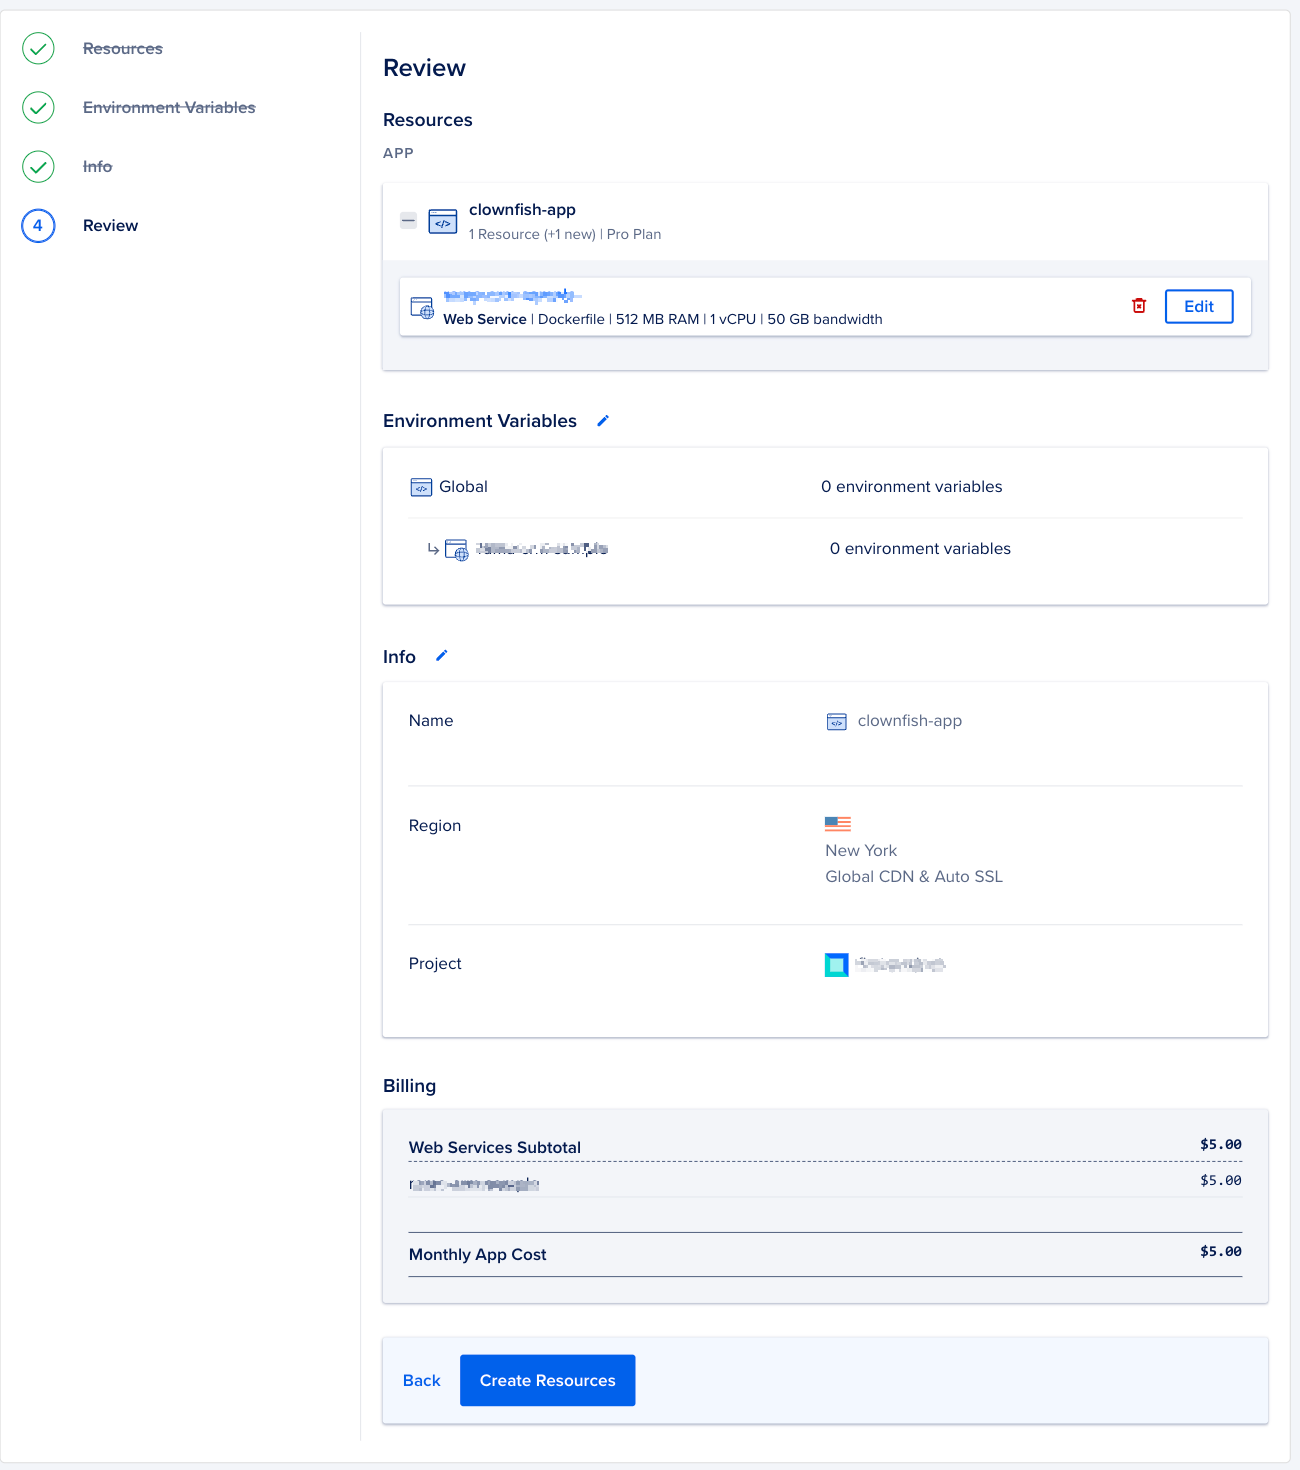
After reviewing the application, click on the Create Resources button.
Your application source code gets pulled from GitHub repository’s “main” branch. A docker image of the application is built and deployed into the DigitalOcean’s App Platform.
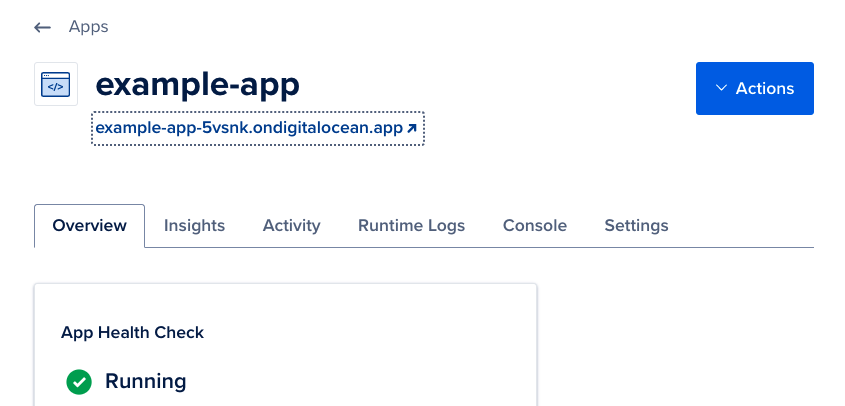
It will take a few minutes for build and deployment to complete. Once your application is deployed you can view the running application at the URL at the top of the app’s Overview page.
If you just deployed the sample app, you might find you cannot login to the app - read on to see how to fix this below.
Updating your Application
First of all, to make your application run properly on DigitalOcean, you need to setup your own Auth0 account and link it to your application. You can follow the steps here to do that.
Next, lets remove the documentation button. The button that loads in-context Apex Designer documentation is good when you are running on the Apex cloud, but causes some problems when we deploy elsewhere.
Go to the user interfaces page and open the Toolbar Buttons component.
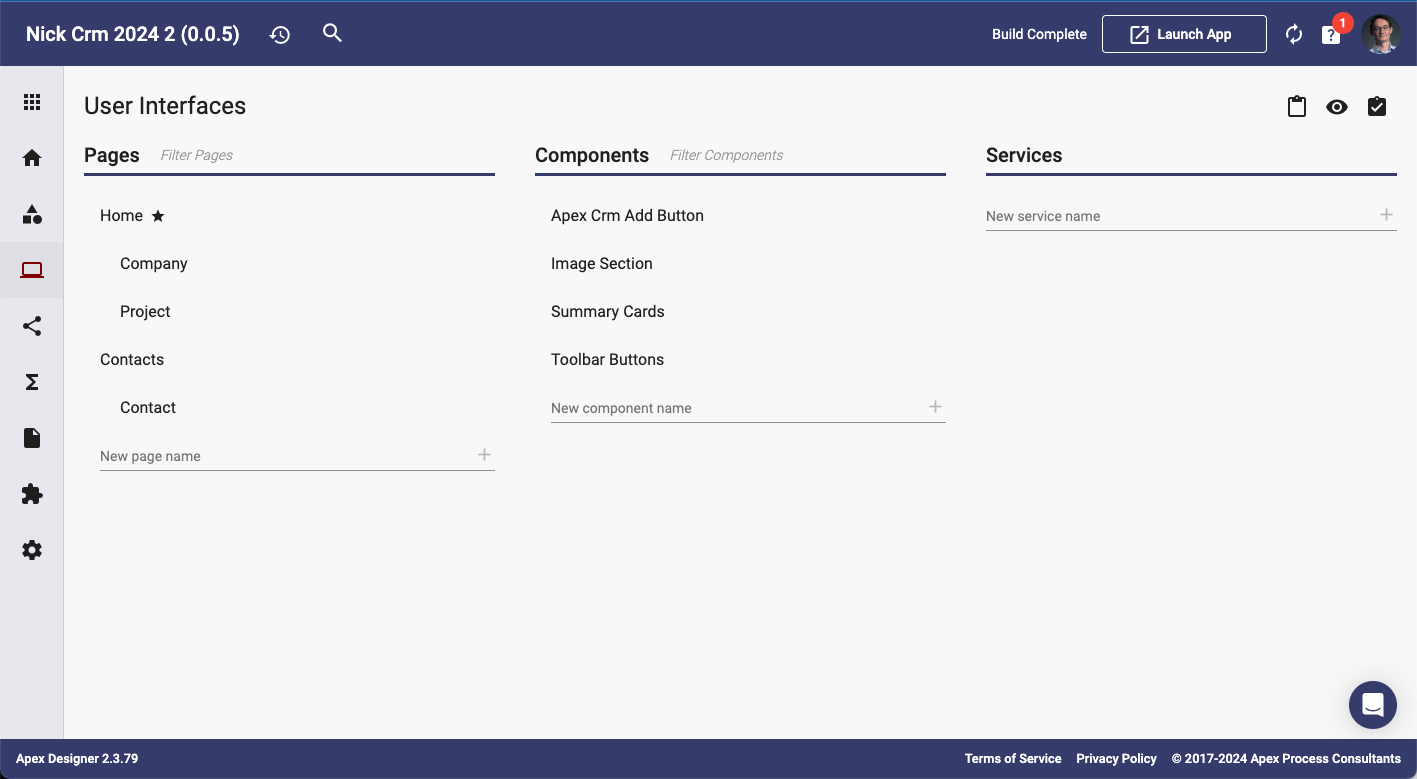
Click the delete button on the Docs in Context Button.

Hit the generate button to regenerate the application and test it in App Manager to make sure the button is gone, and everything else is working.
Once you have tested your changes in App Manager, you can go back to Settings > Source control, compare and commit. Your commit to the GitHub repository will automatically trigger a build and deploy within your application in DigitalOcean App Platform.
Once build and deploy is complete (you can check that in the Activity tab under you App’s Overview page), you can retest your app using the URL at the top of the app’s Overview page
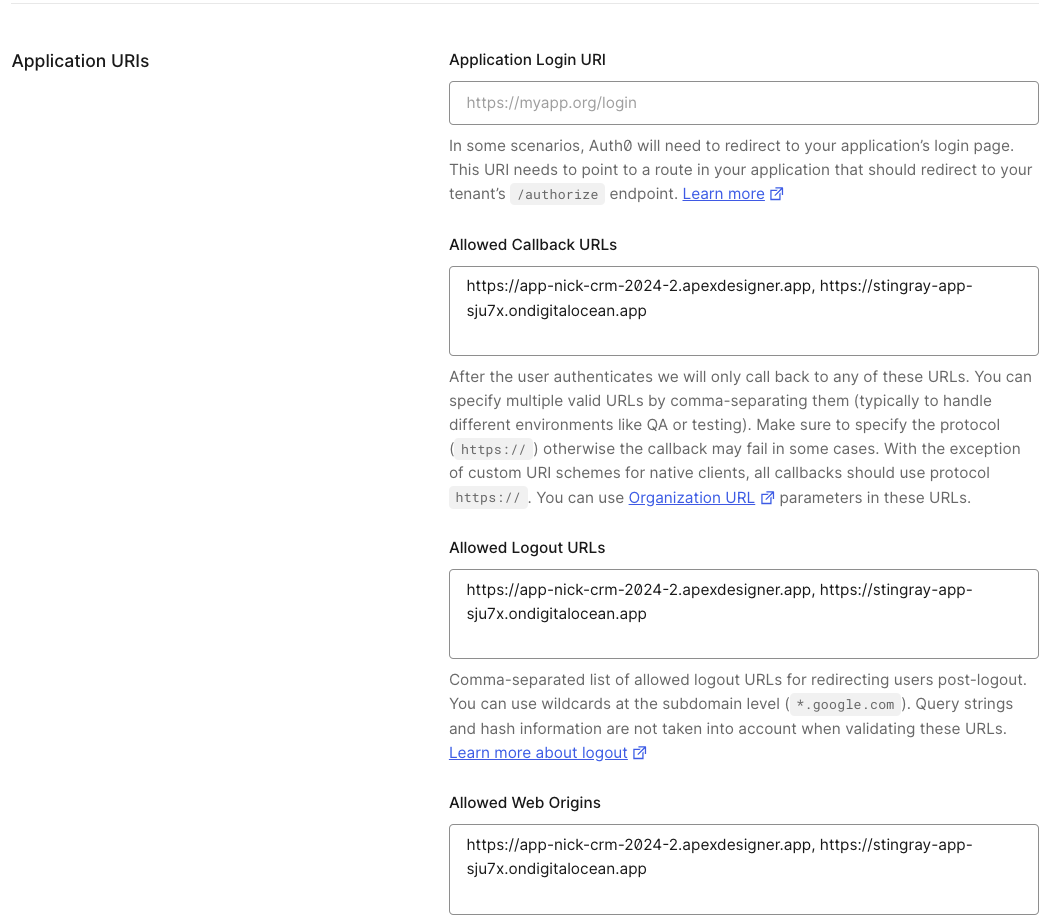
You might notice that login is still not quite working - we need to add the DigitalOcean application URL to the Auth0 configuration.
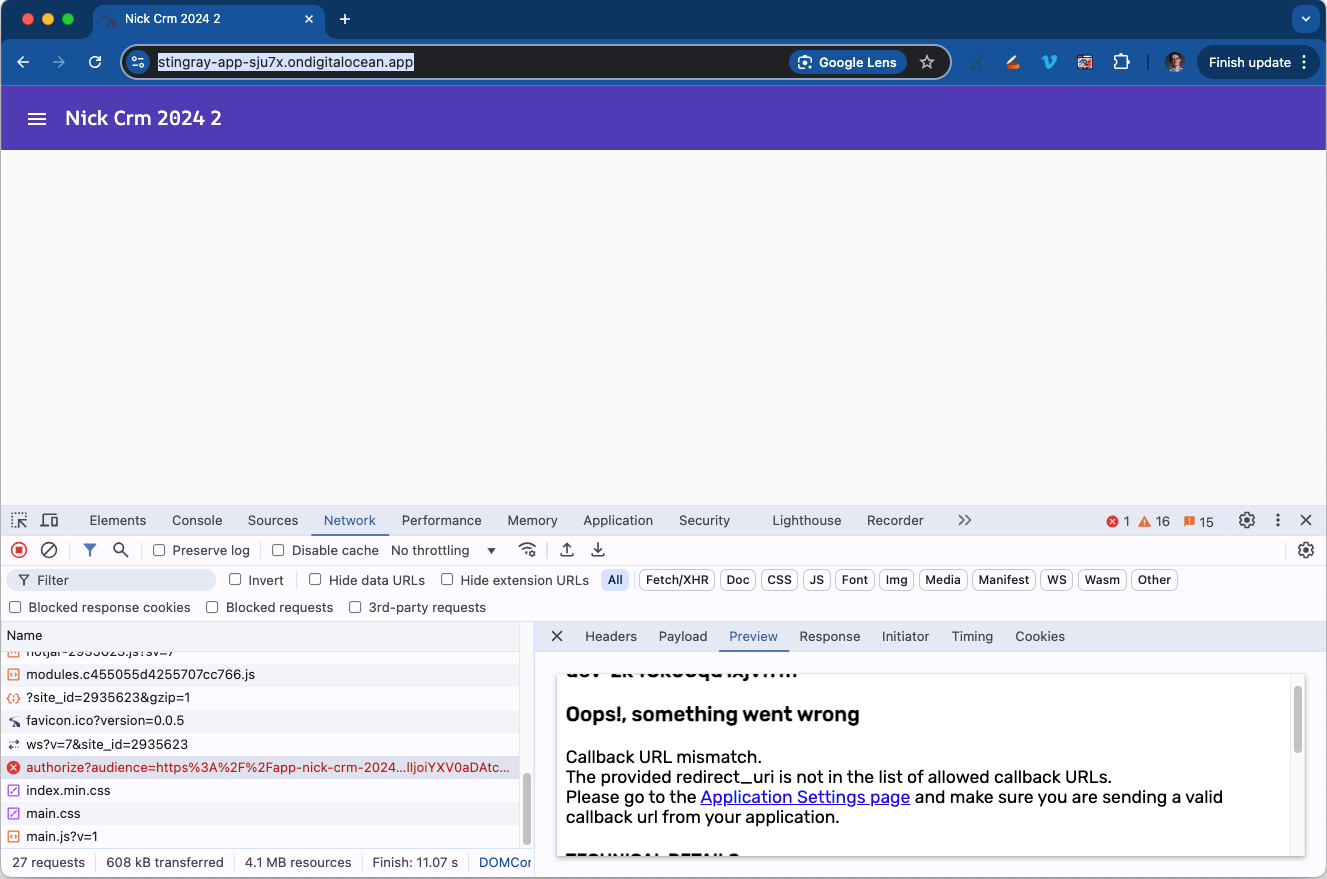
In the Auth0 console, go to your application, and add your DigitalOcean app URL to the Allowed Callback URLS, the Allowed Logout URLs, and the Allowed Web Origins.
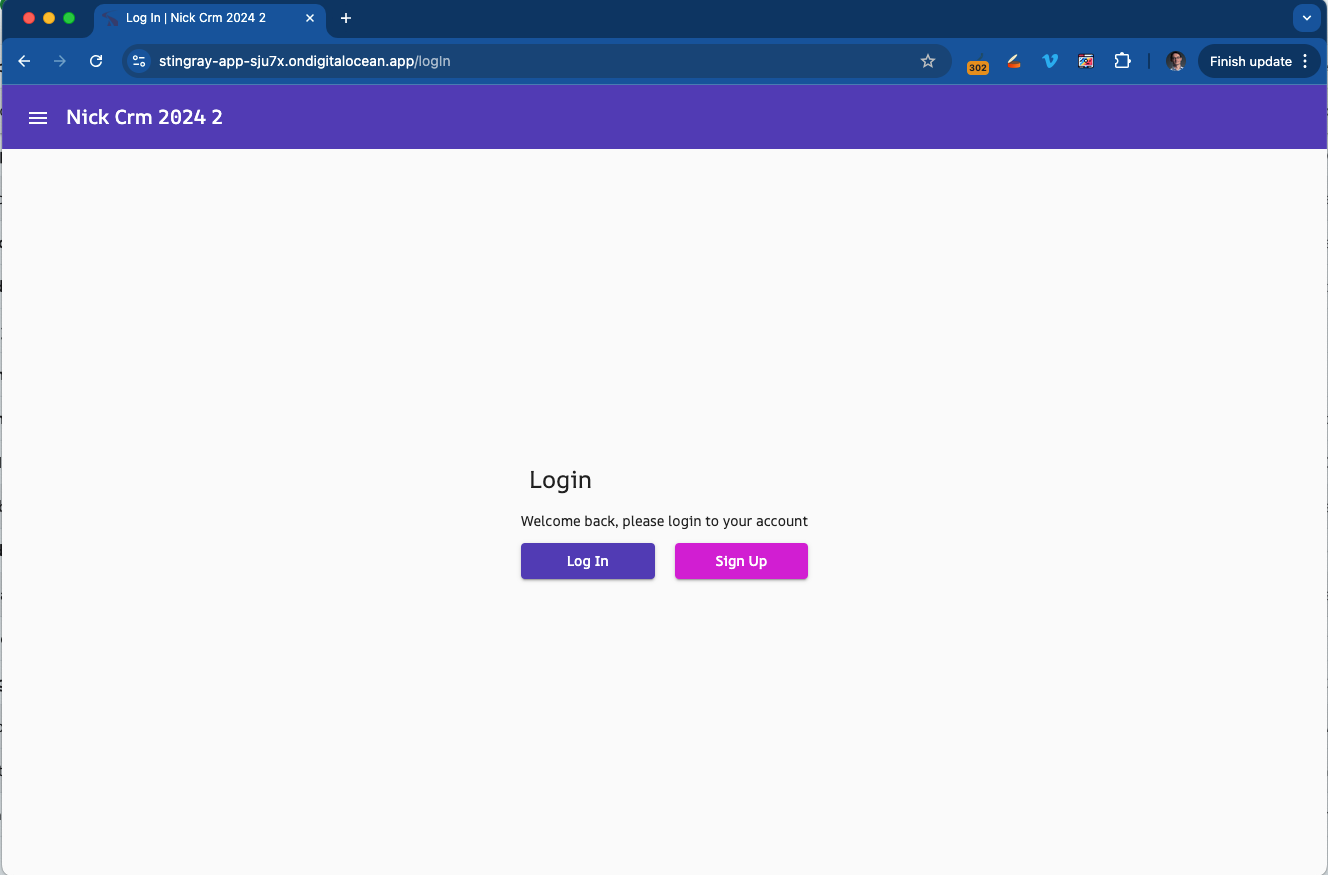
Refresh the app page and everything should be working now.
Adding a Custom Domain
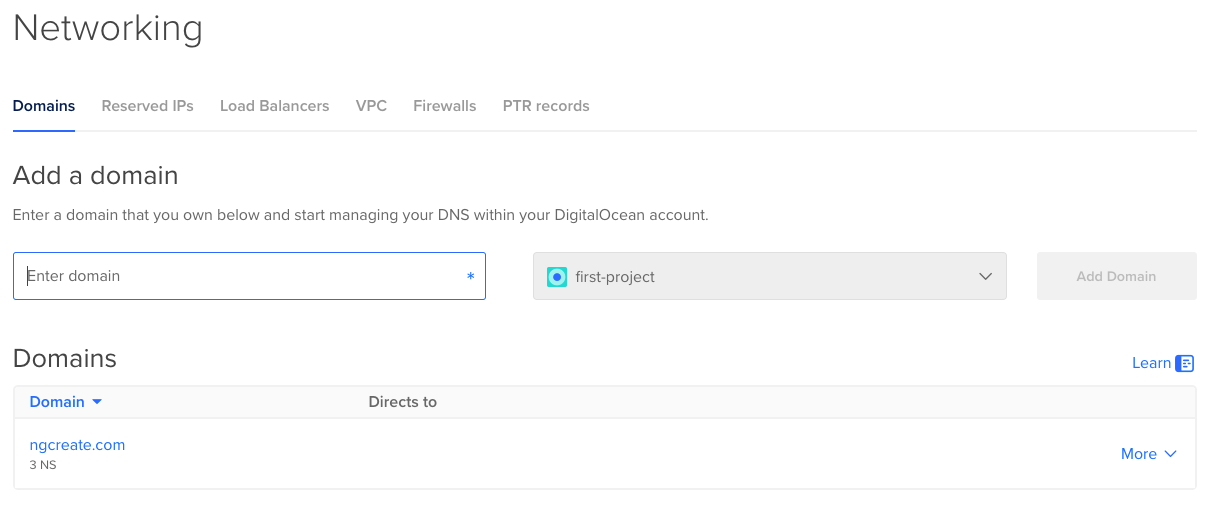
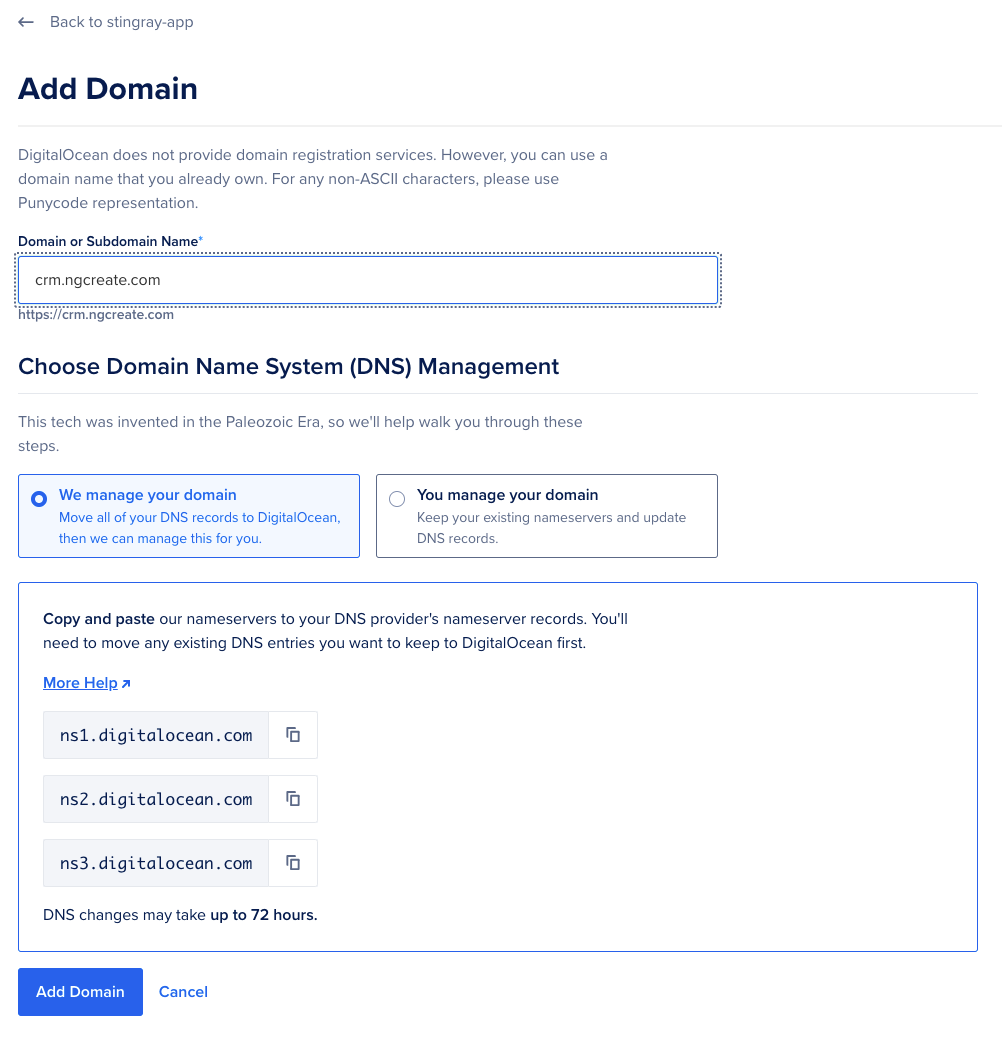
If you own a domain name that you want to use with your application, you can add it now. First, add the domain to DigitalOcean, by clicking Create + Domain.
Once you have added the domain, go back to App Platform and click on your app to see its settings.
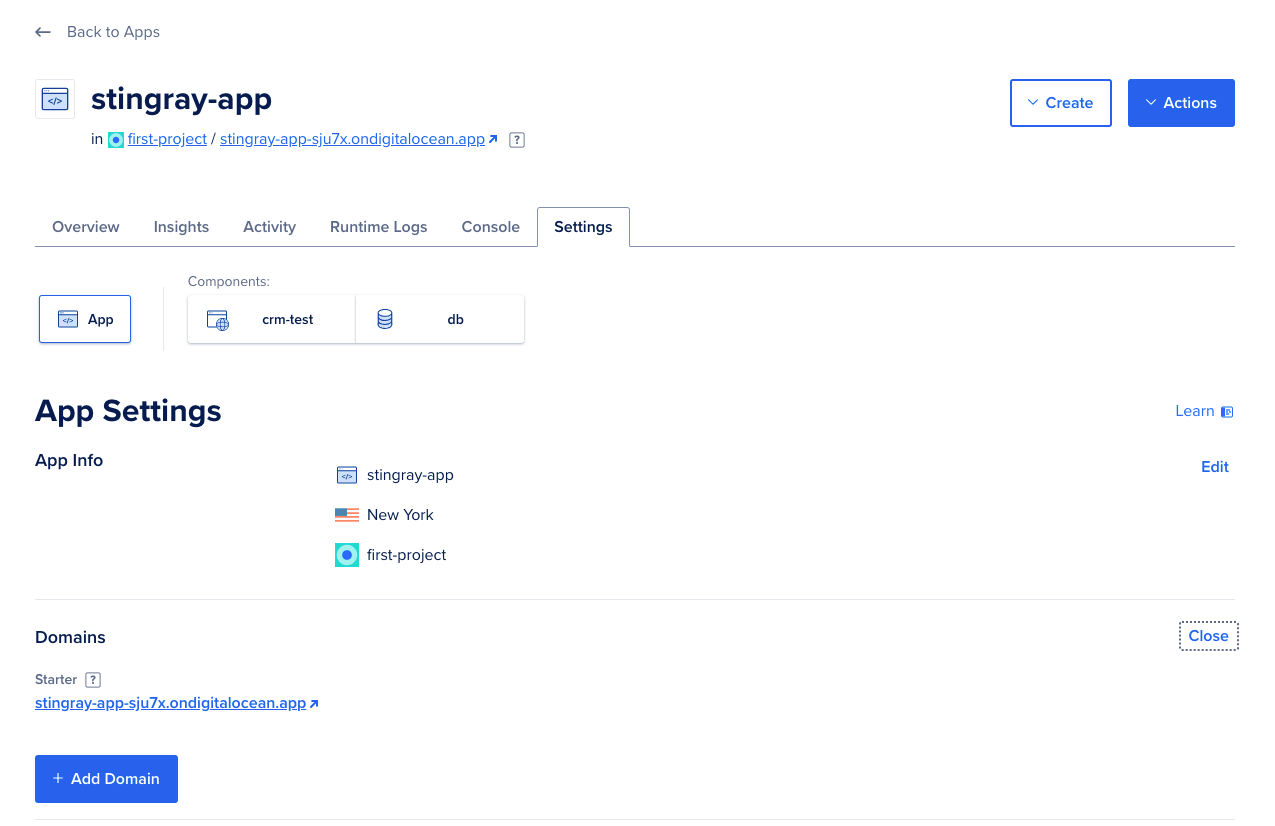
Click the Edit link on the right of domains and then the Add Domain button. Enter the domain (with any subdomain) that you want to use, and click the Add Domain button.
Another deployment is triggered and then the new domain is available:
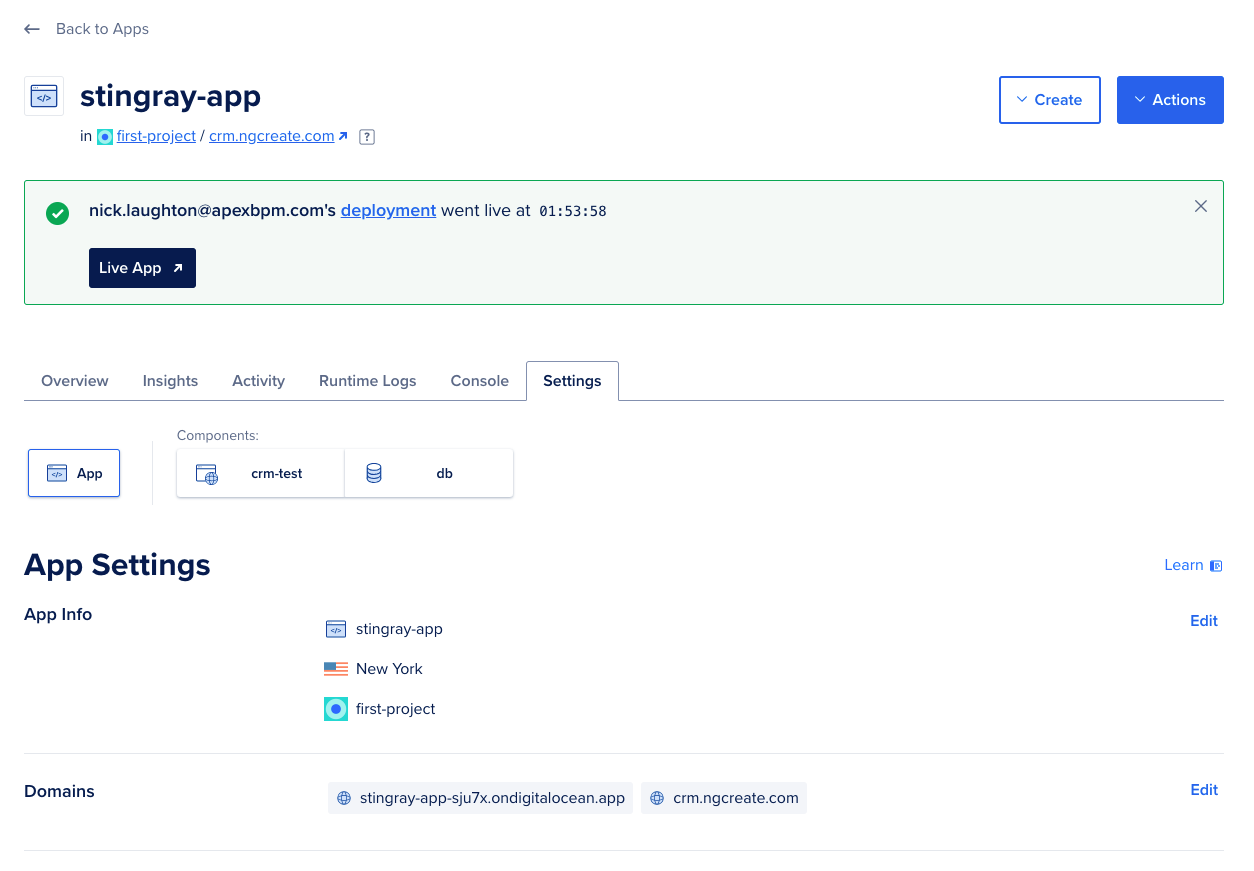
You can try clicking the custom domain link under the app name, and the app will launch. Don't forget to add the new url to your Auth0 configuration to allow the login process to work.

Conclusion
This article demonstrates how easy it is to build an application with Apex Designer and deploy it on a low cost platform like DigitalOcean’s App Platform. Try it and let us know how you get on!