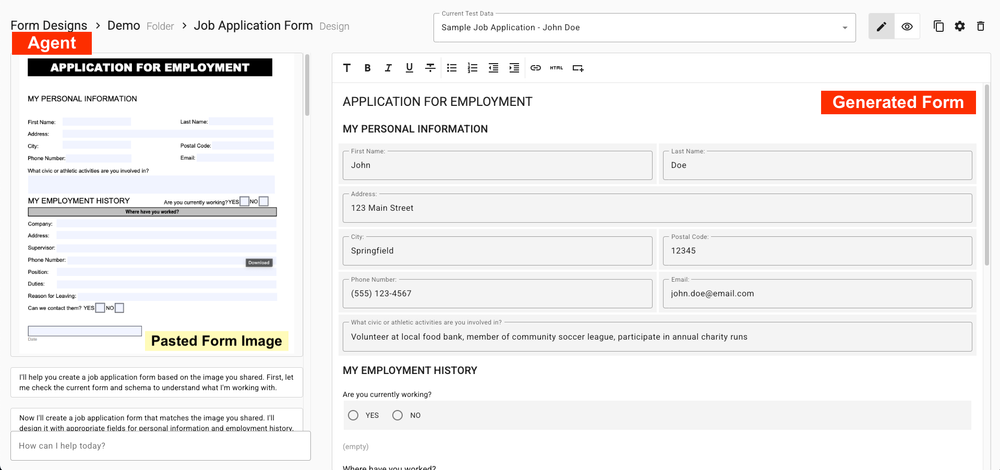
Apex Designer is a low-code design tool builds apps with an Angular front end and a Loopback Node.js back end. Camunda BPM is an open-source workflow and decision automation platform that provides the process engine component for Apex Designer applications. Auth0 is an identity management platform that we use for authentication in Apex Designer Applications.
Problem Statement
The ideal application of the microservices pattern would have a dedicated Camunda process engine for each application. But there are valid reasons that you may want to share an engine across multiple applications:
- Enable a federated task list that provides a single place for users to query tasks from all the applications that they interact with
- Minimize resource and administrative costs by having multiple applications share a single Camunda process engine within a given environment (test for example)
- Ensure that different branches of an application all interact with the same configuration of the Camunda process engine
Objective
Define a pattern that enables multiple applications (or applications branches) to share a single Camunda process engine instance without tripping over each other.
Camunda Tenant Identifiers
The Camunda BPM platform provides two ways to achieve multitenancy: one process engine per tenant and a single engine with tenant identifiers. In our case, we chose the latter because it would allow us to share the process engine resources across multiple applications. It also allows us to add another application without any configuration changes to the Camunda instance.
Authenticate as the App
Each application interacts with the Camunda process engine through the Camunda REST API. A key decision is whether the app authenticates as itself or as the user. We chose the former to keep authorization management primarily in the app and avoid duplicate authorization controls and associated synchronization issues.
In order to authenticate as the app, the app uses an OAuth client credentials grant type. We will use Auth0 as the OAuth provider in this article but other providers should be similar.
Create a Custom API in Auth0
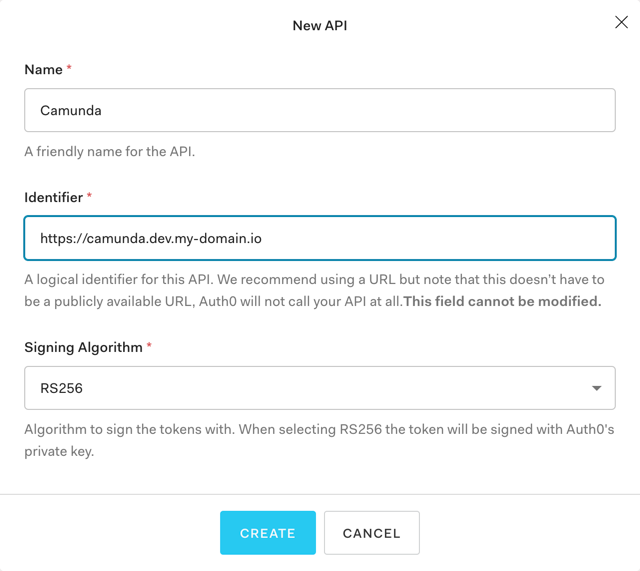
Log in to the Auth0 dashboard, click "APIs" on the sidenav and click the button to create an api. Make the name "Camunda" (or whatever makes sense) and set the identifier to the URL of your Camunda instance:
Create a Machine to Machine App in Auth0
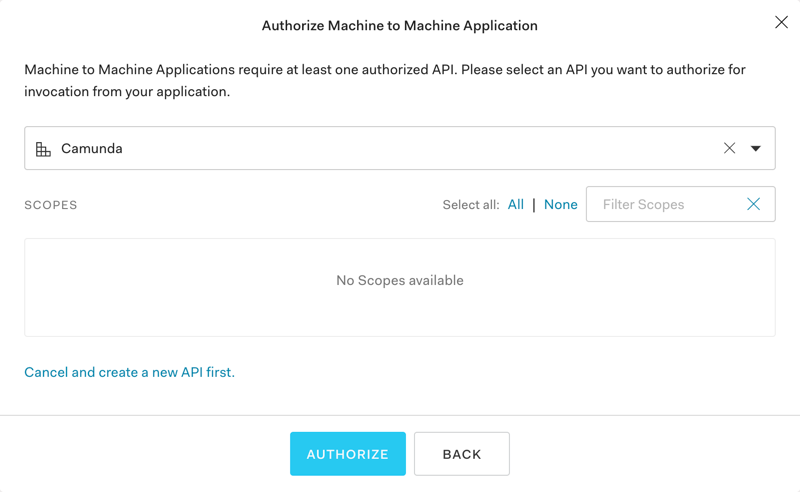
Click "Applications" on the sidenav, and click the button to create an application. Enter your app's name and select the Machine to Machine application type:

Click the create button and then select the Camunda as the authorized API:
Add a JWT Validation Provider to Camunda
Since we are dealing with Client Credentials grant type, the JWT will look something like this:
{
  "iss": "https://your-domain.auth0.com/",
  "sub": "zZqGJkwTwQ9wdZFT2K5cwOhGrRYHAtMf@clients",
  "aud": "https://camunda.dev.my-domain.io",
  "iat": 1615219729,
  "exp": 1615306129,
  "azp": "zZqGJkwTwQ9wdZFT2K5cwOhGrRYHAtMf",
  "gty": "client-credentials"
}
The "azp" claim contains the client id. We use the client id as both the Camunda userid (for access management) and tenantid (for data separation). To achieve that, we started with an excellent example by Stephen Russett here and adjusted the logic accordingly.
Configure the App in Apex Designer
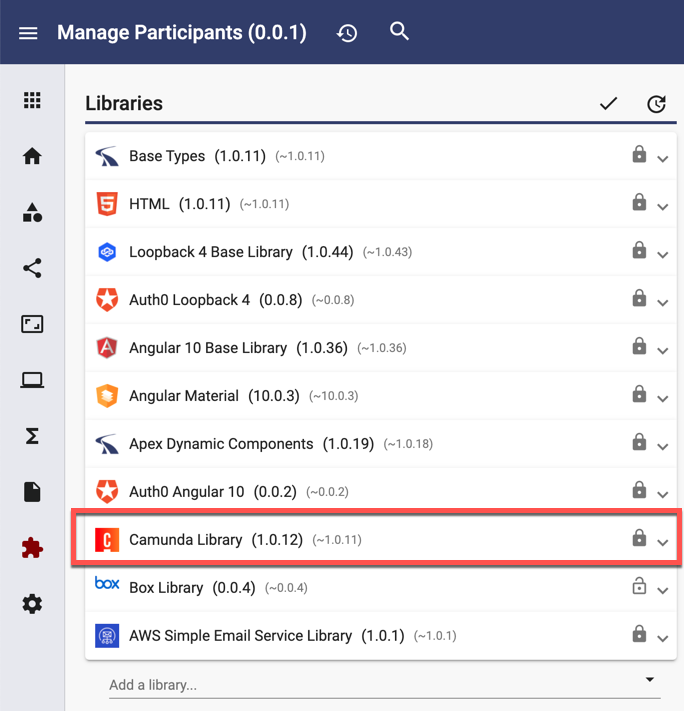
Apex Designer includes a Camunda Library containing business objects, behaviors, user interface components and a Camunda Loopback Connector. These make it super easy to use Camunda in the application. First add the library to your app:
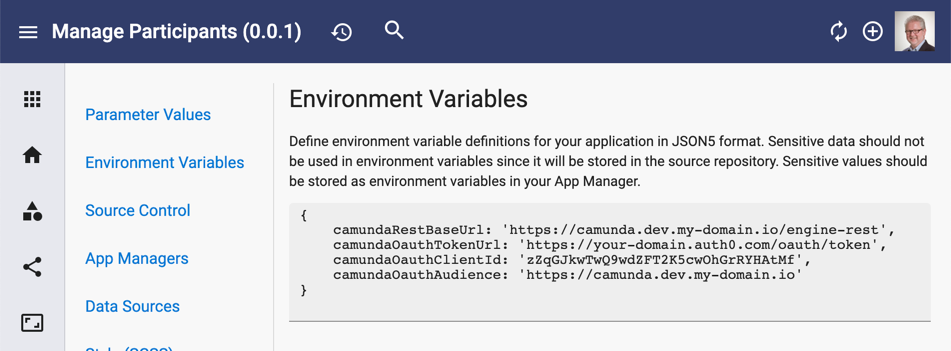
Then go to Settings + Environment Variables and add environment variables as shown for this example:
Next go to the Auth0 Dashboard, open the My App client and click the icon to copy the client secret:

Since the client secret is sensitive information that we don't want to end up in source control, we will add it to the secure environment variables on the App Manager instead. Go to Settings + App Managers and open your app manager and add the "camundaOauthClientSecret" with the value that you copied above. Restart your app manager to pick up the changes.
Getting a JWT at Runtime
When your application starts, the Camunda Loopback Connector automatically gets a JWT from Auth0 using the information you specified in the environment variables. It also renews that JWT automatically just before it expires.
For anyone not using Apex Designer, here is the getJwt method that handles this:
private async getJwt(): Promise {
	const debug = debugClass.extend('getJwt');

	if (!this.jwt || new Date().getTime() > this.expiresAt) {
		let headers = {
			'Content-Type': 'application/x-www-form-urlencoded'
		};
		debug('headers', headers);

		let formData = {
			grant_type: 'client_credentials',
			client_id: this.clientId,
			client_secret: this.clientSecret,
			audience: this.audience
		};
		debug('formData', formData);

		let response = await got.post(this.oauthTokenUrl, {
			form: formData
		});
		debug('response.body', response.body);

		let data = JSON.parse(response.body);
		debug('data', data);

		this.jwt = data.access_token;

		// Use this token until 60 seconds before the expiration
		this.expiresAt = (data.expires_at - 60) * 1000;
	}
	debug('this.jwt', this.jwt);
	return this.jwt;
}
Sending the JWT to the Camunda REST API
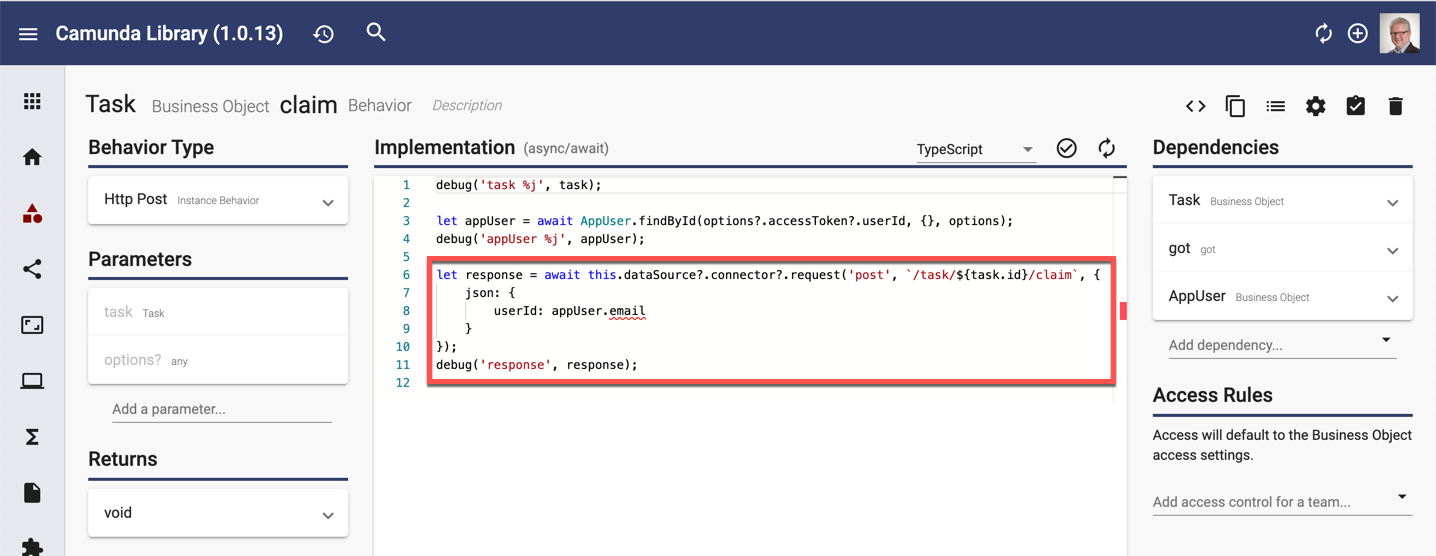
Using the Camunda Library, any request made automatically has the JWT added as the bearer token - no extra effort is required:
For anyone not using Apex Designer, here is the "request" method that applies the JWT:
async request(method: string, path: string, options?: any): Promise {
	const debug = debugClass.extend('request');
	debug('method', method);
	debug('path', path);
	debug('options %j', options);

	let jwt = await this.getJwt();
	debug('jwt', jwt);

	if (!options) options = {};
	if (!options.headers) options.headers = {};
	options.headers = { authorization: 'Bearer ' + jwt };
	if (!options.responseType) options.responseType = 'json';

	let response = await got[method](this.url + path, options);
	debug('response.body %j', response.body);
	return response.body;
}
Creating or Updating the Tenant in Camunda
When your application starts, the Camunda Connector automatically creates or updates the tenant in Camunda.
For anyone not using Apex Designer, here is the "_createOrUpdateTenant" method:
async _createOrUpdateTenant() {
	const debug = debugClass.extend('_createOrUpdateTenant');

	try {
		let tenant = await this.request('get', `/tenant/${this.clientId}`);
		debug('tenant', tenant);

		if (tenant.name !== process.env.appUrl) {
			await this.request('put', `/tenant/${this.clientId}`, {
				json: {
					id: this.clientId,
					name: process.env.appUrl
				}
			});
			debug('tenant updated');
		} else {
			debug('tenant already existed');
		}
	} catch (err) {
		debug('err.response.statusCode', err.response.statusCode);
		if (err.response.statusCode == 404) {
			await this.request('post', '/tenant/create', {
				json: {
					id: this.clientId,
					name: process.env.appUrl
				}
			});
			debug('tenant created');
		} else {
			throw err;
		}
	}
}
Add Tenant Id to Requests
If you are using Apex Designer, the Camunda Library automatically adds the tenant id to all operations.
For anyone not using Apex Designer, most of the get operation filters include a "tenantIdIn" query parameter. For get operations (Get Tasks for example), that is a comma-separated list of strings. For list operations that use a post (Get Tasks Post for example), it is a JSON array of strings. Most create or update operations accept tenantId as part of the body.
Summary
Camunda multitenancy can be combined with OAuth client credentials claims to provide a simple way to to share a single Camunda instance with multiple applications.
I you have not checked out Apex Designer, please visit the site and sign up for a demonstration. Apex Designer is the easiest way to Camunda :).